
Pumpkin Carving Patterns


RecipeTips
The tradition of carving a pumpkin is popular in many households during the Halloween season. It is an experience that everyone remembers; from choosing the right pumpkin to preparing it for carving. Learn How to Carve a Pumpkin with our step-by-step instructions.
Pumpkins come in many sizes and shapes so when selecting a pumpkin you want to keep in mind the patterns you would like to use. When you are cleaning your pumpkin out you may want to keep what is inside. The pumpkin seeds inside can be saved and roasted. Follow the steps in How to Roast Pumpkin Seeds to learn how to make a fun snack to be enjoyed by everyone.
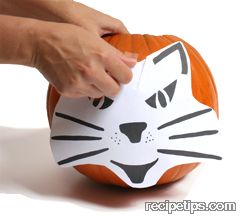
Once you are done cleaning it out, you can select one of the patterns below for carving the pumpkin. Follow the pumpkin carving steps below for a fun and easy jack o' lantern.


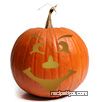
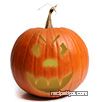
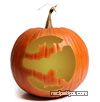
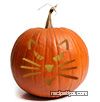
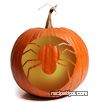
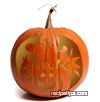
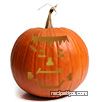

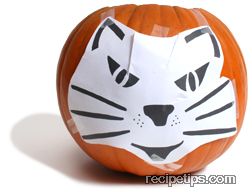
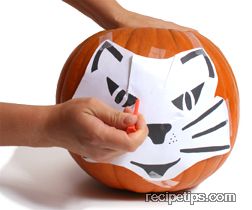
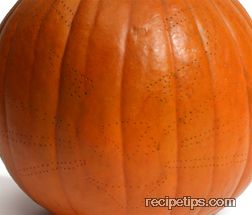
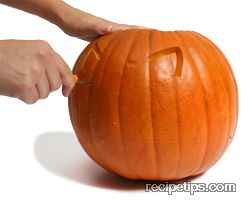
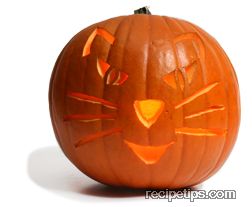
pumpkin carving patterns
:


