
|
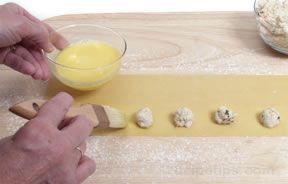
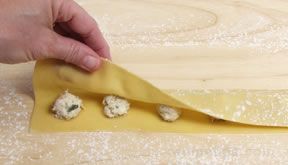
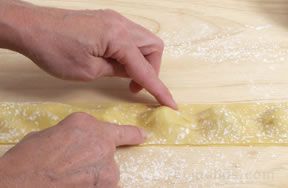
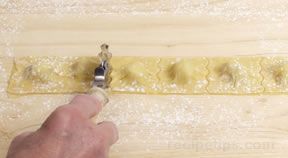
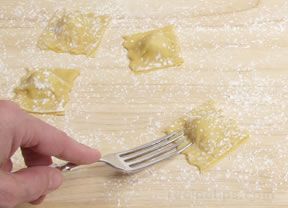
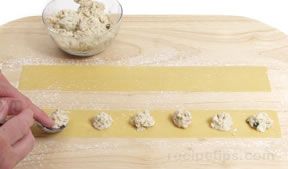
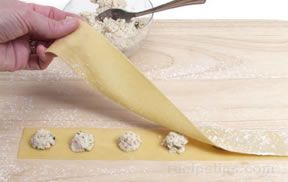
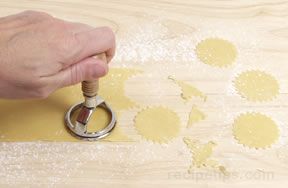
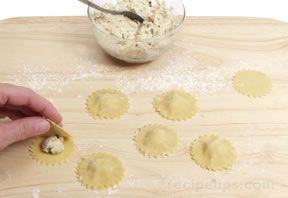
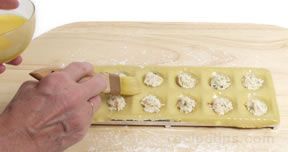
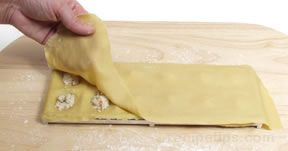
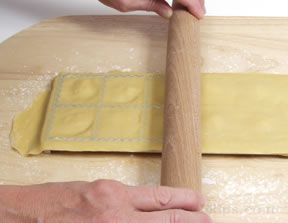
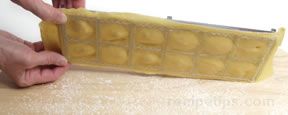
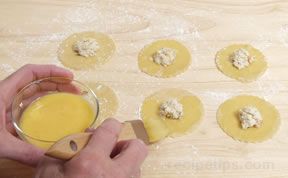
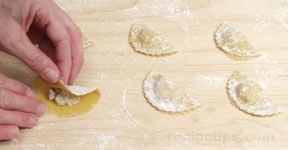
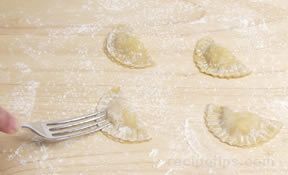
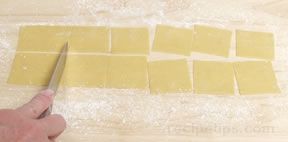
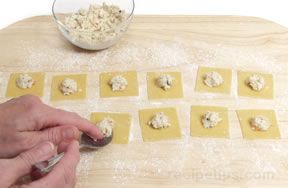
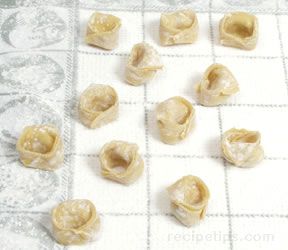
When making stuffed pasta, the pasta dough should be rolled thinner than when making other pasta because the stuffed pasta requires two layers. Using thinner layers will prevent the edges of the stuffed pasta from becoming too thick. The pasta dough for stuffed pastas should not be allowed to dry before beginning the preparation process. It is best to have the pasta moist so that the layers will stick together better when sealed. Fillings:
| |||||||||||||||||||||||||||||||||||||||||||||||||||||||||||||||||||||||||||||||||

Loading
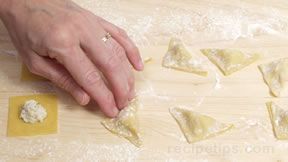
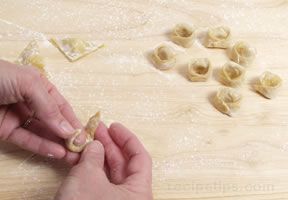
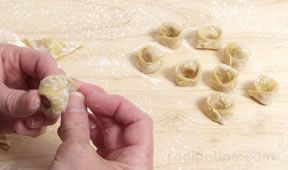
Stuffed Pasta Preparation

Read Reviews (2)

Provided By
RecipeTips
RecipeTips
Reviewed By sirius
"I have not made pasta since I was a little girl cooking with my great ... read full review"
"I have not made pasta since I was a little girl cooking with my great ... read full review"


Loading
stuffed pasta preparation
:
Reviewed By sirius
"I have not made pasta since I was a little girl cooking with my great grandmother. What an easy way to get back into it."
Reviewed By sirius
"I have not made pasta since I was a little girl cooking with my great grandmother. What an easy way to get back into it."


Advertisement


Advertisement