

|
| |||||||||||||||

Loading
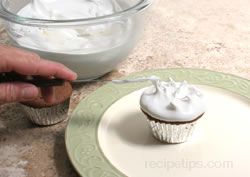
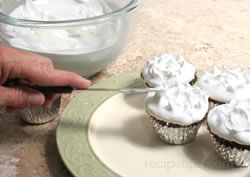
Peak Frosting Design

Provided By
RecipeTips
RecipeTips
This simple frosting design does not take any special tool for cake decorating. A teaspoon is all that is required. This frosting design can be used on most all frosting types. The peaks are added after the top coat of frosting has been applied.


Loading
There currently aren't any reviews or comments for this article. Be the first!


Advertisement

Advertisement