

|
| |||||||||||||||||||||||||||||||||||||||

Loading
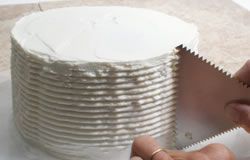
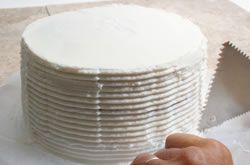
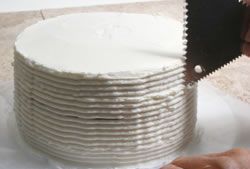
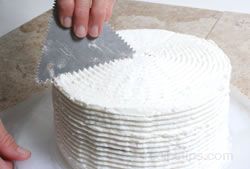
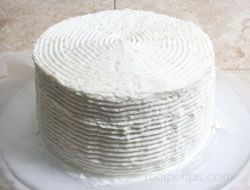
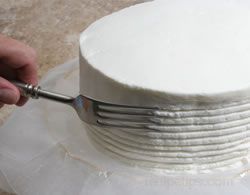
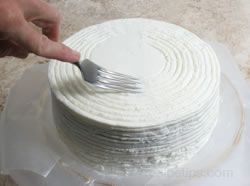
Circled Ridges Frosting Design

Provided By
RecipeTips
RecipeTips
To begin this simple frosting design, apply the top coat of frosting and smooth it on the top and sides. A frosting such as a buttercream frosting should be used with this circled ridges frosting design so that it holds the details of the design when decorating cakes or other desserts.


Loading
There currently aren't any reviews or comments for this article. Be the first!


Advertisement

Advertisement