


|
See More Information on Making Homemade Ice Cream: Non-custard style ice cream is made without eggs and does not call for the careful cooking that the custard style ice cream requires. Even though the non-custard style ice cream is not as smooth, it can still have a wonderfully rich flavor. It will contain less fat than the custard style and there are lighter versions that can be made using ingredients, such as half & half, whole milk, low fat milk, and yogurt, rather than heavy cream. These recipes will not produce ice cream as rich and smooth as the custard style but is will still be a delicious homemade treat. Provided below is a non-custard style homemade ice cream recipe made with strawberries. The freezing method shown below uses a electric ice cream maker that has a freezing unit and does not require the use of ice. Other freezing methods can also be used with this non-custard style ice cream recipe. For other freezing methods, see Homemade Ice Cream Freezing Methods.
| |||||||||||||||||||||||||||||||||||||||||||||||||||||||||||||||
|
Ingredients: |
||
|
| |
|
|
 | |
|
|
 | |
|
|
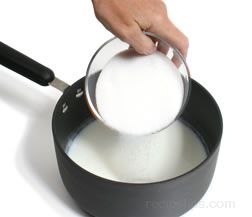 | |
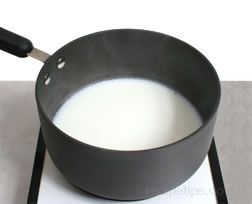
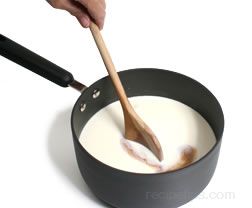
| Stir the scalded milk until sugar and salt are completely dissolved. | 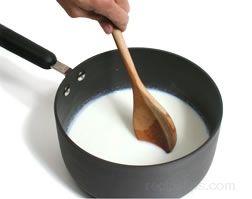 | |
|
|
 | |
|
|
 | |
|
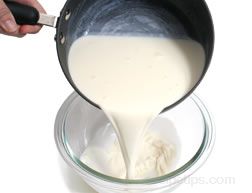
Once the mixture has cooled, cover with plastic wrap and allow the mixture to age in the refrigerator for at least 4 hours or up to 24 hours. This aging process will give the mixture better whipping qualities and produce ice cream with more body and a smoother texture. | ||
|
|
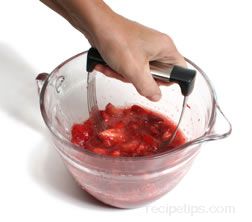 | |
| Cover the strawberries and place them in the refrigerator until just before adding them to the ice cream. | 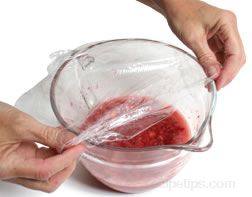 | |
|
|
 | |
Get Homemade Ice Cream - Strawberry recipe. | ||
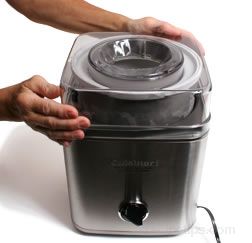
Freezing with an Electric Ice Cream Maker with a Freezing Unit
The instructions below are for using an electric ice cream maker that uses a built-in freezing unit that has a cooling liquid between a double insulated walled. The unit is placed in the freezer for the cooling liquid to freeze and that does the work that the ice and salt does in the unit above. This is just one type of model. Realize that there are many different types of ice cream makers and unless you have this same model, it is best to read the user's manual for your model before beginning the freezing process. This type of freezing process is also a "stir freezing" method because the ice cream is being stirred throughout the freezing process. Other freezing methods can also be used with this non-custard style ice cream recipe. For other freezing methods, see Homemade Ice Cream Freezing Methods.
|
|
 | |
| Pour the ice cream mixture into the chilled unit through the opening on the top of the cover. Fill it no more than 1/2 inch from the top. If you are going to be adding flavoring ingredients at the end of the process be sure to leave room in the freezing unit. | 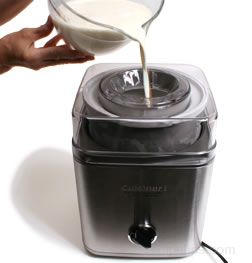 | |
|
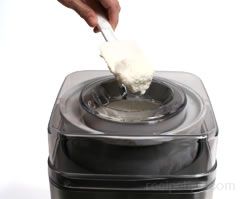
The unit should run for 25 to 40 minutes before the ice cream has thickened enough. Start checking the ice cream after 25 minutes. Depending on the amount of ice cream in the unit it may take additional time. The ice cream should be thick but too soft to scoop. This consistency is good for adding in flavorings. |
 | |
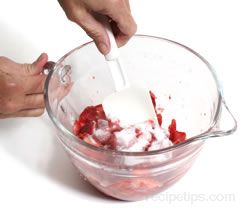
| When the ice cream is ready, add the strawberry sauce and churn until evenly mixed into the ice cream. | 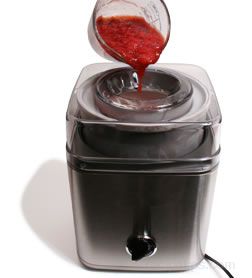 | |
|
Remove the cover and pull out the mixing arm. Use a spatula to remove the ice cream. |
 | |
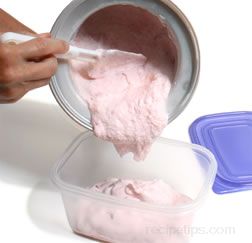
| If flavorings do not seem to be completely mixed, quickly stir by hand to distribute evenly. | 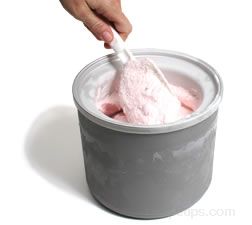 | |
|
Place the ice cream in the freezer for several hours to harden. |
 | |
| After the ice cream has hardened sufficiently, take the ice cream container out of the freezer, remove the cover and scoop ice cream into bowls or cones. Serve and enjoy! | 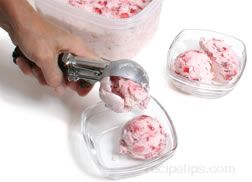 |


