


Decorating with ChocolateCake Dusting with Chocolate | Chocolate Slivers and Shavings | Chocolate Curls | Chocolate Shapes
| ||||||||||||||||||||||||||||||||||||||||||||||||||||||||||||||||||||||||||||||||||||
| A very easy cake decorating idea that can be used is dusting the cakes with chocolate. This simple addition is just enough to catch someone's eye and give the cake a special touch. | ||
|
 | |
|
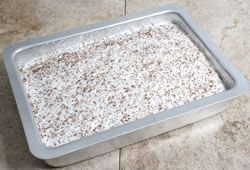 | |
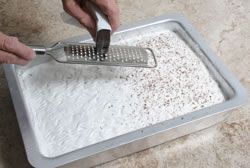
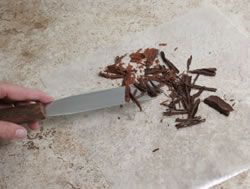
Chocolate Slivers and Shavings
|
Cake decorating with chocolate slivers and shavings is a great way to add texture to your decorating design. They can be sprinkled over the top of the cake or they can be piled in the center to create a more bold effect when decorating the cake. The chocolate rolls and slivers can also be mixed with other trimmings such as fruit and nuts. | ||
|
 | |
|
 | |
|
 | |
|
| ||
|
 | |
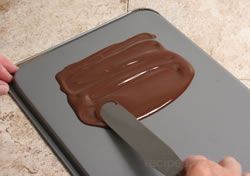
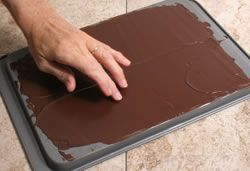
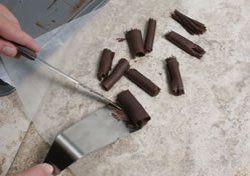
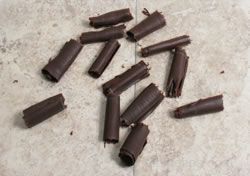
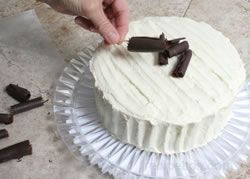
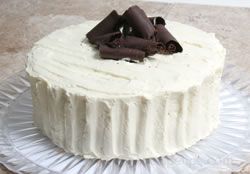
Chocolate Curls
| A fancy cake decorating idea that can really make an impression is chocolate curls. They can give a cake an elegant look whether you are placing chocolate curls on a white frosted cake or white chocolate curls on a chocolate frosted cake. You can also mix them up for an even more interesting look. | ||
|
| |
|
 | |
|
 | |
|
 | |
|
 | |
|
 | |
 |
 | |
| ||
 |
| |
 |
| |
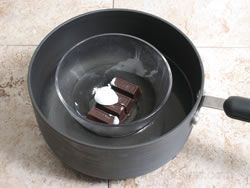
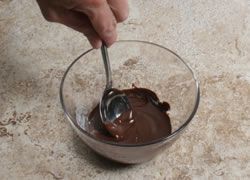
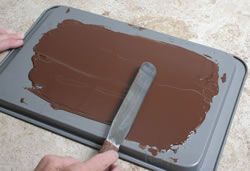
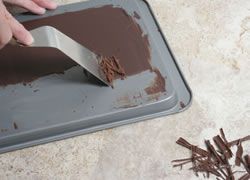
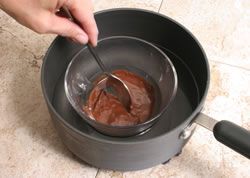
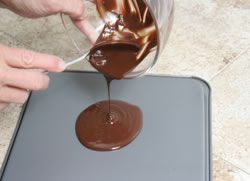
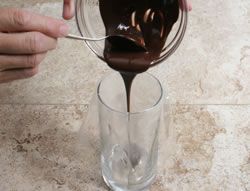
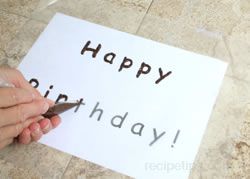
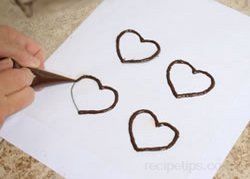
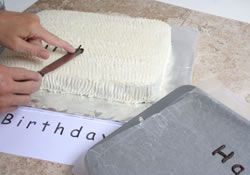
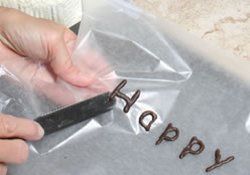
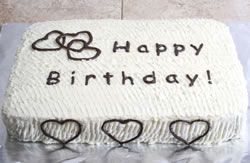
Chocolate Shapes
|
Cake decorating with chocolate shapes can be a lot of fun because you can create many different shapes to use. It is a great way to personalize birthday cakes and cakes for other special occasions. Another advantage of cake decorating with chocolate in this manner is that you don't have to worry about ruining your cake if the design doesn't turn out the first time. You can just make it over, whereas if you applied it directly on the cake it would be difficult to redo without ruining the frosting or cake on which it was placed. Follow the easy steps below. | ||
|
 | |
 |
 | |
| ||
 |
 | |
| ||
|
| |
|
 | |


