|
Types of Pastry Bags | Coupler and Decorating Tips | Filling the Pastry Bag
Using the Pastry Bag | Cleaning the Pastry Bag and Tools
Types of Pastry Bags
| There are several types of pastry bags available. There are reusable, disposable, and parchment pastry bags; each is used in the same basic manner. They can be found in cake decorating stores or where cake decorating supplies are sold; for example, in craft supply stores, kitchenware departments, and gourmet kitchen shops. They are not generally sold in your regular supermarket. |
 |
|
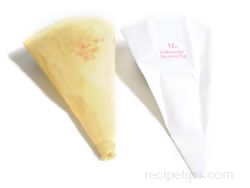
- Reusable Pastry Bags - These bags are also referred to as featherweight bags. They are made from various materials, such as canvas, cotton (lined with plastic), and polyester. Some are machine washable, which makes cleanup easier. When cleaned and maintained properly, they can be used over and over many times.
|
 |
|
- Disposable Pastry Bags - Disposable bags are made of heavy duty plastic and can be used with or without a coupler. When you are done decorating, the bag is thrown away, making cleanup easy.
|
 |
|
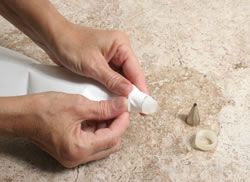
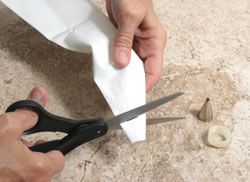
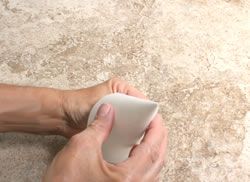
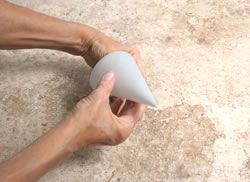
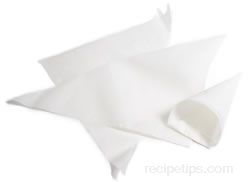
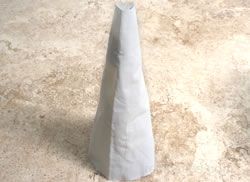
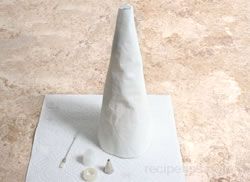
- Parchment Cones - These cones are made from parchment paper and you construct the cone yourself. When you are finished using them, they are discarded. One advantage to this type of a pastry bag is that if you only need just a small amount of one color, you can make a small parchment bag that will hold as little as a tablespoon of frosting.
|
 |
|
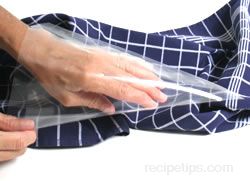
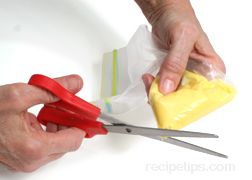
- Plastic Bag - If you do not have a pastry bag an airtight sealable bag can be used for drizzling, piping, or writing on the cake. The frosting is placed in one of the corners of the bag and the tip is cut off. The frosting is then squeezed out the hole to create the design. This alternative method works fine for a quick design but does not offer much of an option for a decorative pattern.
|
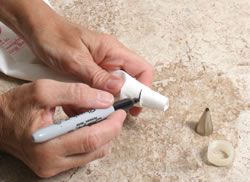
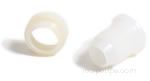
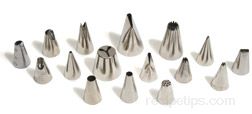
Coupler and Decorating Tips
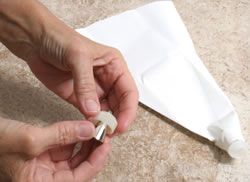
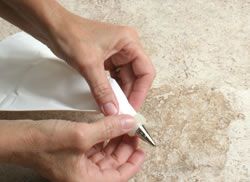
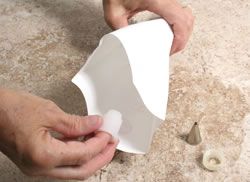
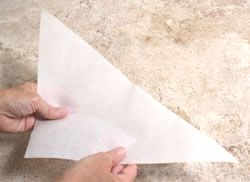
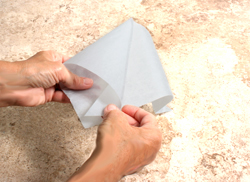
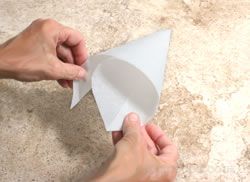
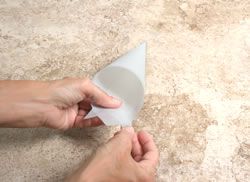
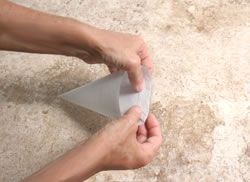
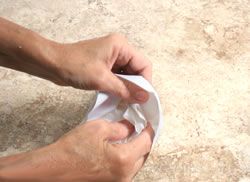
How to Make a Parchment Cone
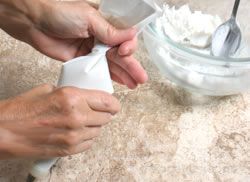
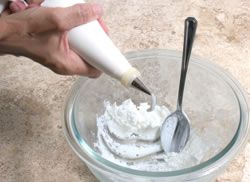
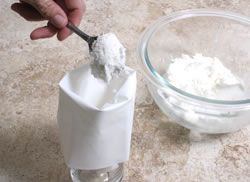
Filling the Pastry Bag
Using the Pastry Bag
|
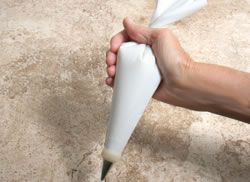
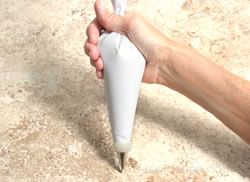
Holding the Pastry Bag
- Place the twisted part of the pastry bag in the V of your hand between your forefinger and thumb. Wrap your thumb over the twisted area to help hold the twist in the bag.
- Wrap your fingers around the bag to form a sturdy grip. Your fingers are used to apply pressure when you want to squeeze the frosting out of the bag.
|
|
 |
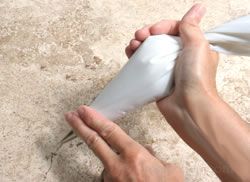
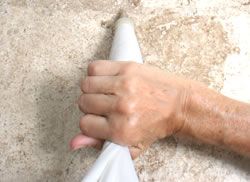
- Use two fingers from the opposite hand to help guide the pastry bag while using.
|
|
 |
|
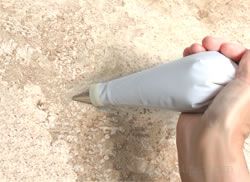
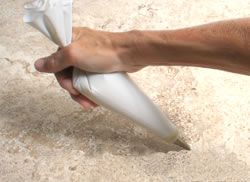
Angle of the Pastry Bag
There are two basic angles in which to hold the pastry bag when decorating. A 90° angle and a 45° angle. Each is used for different purposes when using the pastry bag. |
- A 90° angle (perpendicular to the surface) is used when not much movement of the pastry bag is required. The bag is generally just lifted straight up from the design being made. It is used for dots, stars, and rosettes.
|
|
 |
- A 45° angle (halfway between perpendicular and parallel to the work surface) provides more mobility when working with the pastry bag, allowing you to do a little more. It is used when writing, piping, making flower pedals, and creating different shapes.
|
|
 |
|
Direction of the Pastry Bag
- The direction that the pastry bag is pointed when making some of the designs is also important. The direction is often referenced by the numbers on the face of a clock. The directions may state to have the back of the pastry bag pointed at 12:00, 3:00, 6:00, 9:00, or any hour in between.
|
12:00 Position |
|
3:00 Position |
6:00 Position |
|
9:00 Position |
Cleaning the Pastry Bag and Tubes
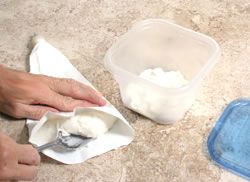
- To clean the pastry bags, squeeze the remaining frosting to the wide opening of the bag; then scoop the frosting out and store it in an airtight container.
|
|
 |
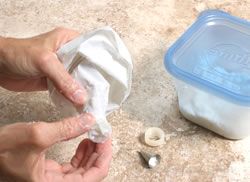
- After scooping the frosting out of the pastry bag, remove the tip and coupler unit from the bag.
|
|
 |
 |
|
|
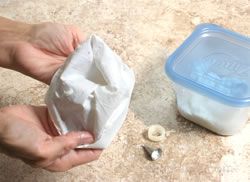
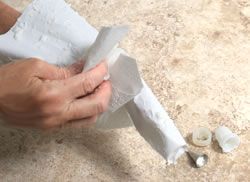
- If using a disposable bag, just throw it away. If it is a reusable bag, turn it inside out and wipe off as much of the excess frosting as you can with a paper towel.
|
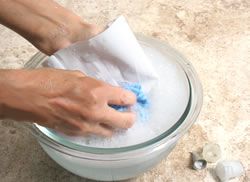
- Wash the pastry bag in hot, soapy water to remove all the frosting.
|
|
 |
|
|
|
- Rinse thoroughly and dry the bag as much as possible. Then stuff it loosely with paper towels.
|
|
- Stand the pastry bag up on the counter. Allow it to stand there until it is completely dry.
|
- Note: Some reusable bags can be washed in the washing machine but do not dry them in the dryer. The heat from the dryer can melt the plastic coating and ruin the bag. Allow the bag to air dry.
|
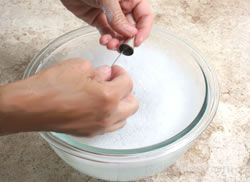
- Wash the tip and coupler in hot, soapy water. Use a pastry tube brush to clean the pieces. If you do not have one, use some other type of small brush or pipe cleaner.
|
|
 |
- Clean thoroughly, rinse and dry. Lay the pieces out on a dry paper towel and allow to air dry completely before storing.
|
|
 | |