Loading

Cake Decorating with Chocolate

Provided By

Cake decorating with chocolate offers many ways to add fun and delicious looking decorations to use when decorating chocolate cakes, white cakes, or any flavor cake that pairs well with chocolate. The chocolate decorations can be used alone or added to other decorating designs.

Whether your cake decorating ideas include dark chocolate, milk chocolate, or white chocolate, the hardness of the chocolate must be correct when creating chocolate decorations. If it is not the proper hardness, the chocolate will melt when handling or if it is too hard you will get crumbles of chocolate when you really want curls or ribbons. The information below will show you how to handle chocolate when using for cake decorating.

Share this!
Facebook

Decorating with Chocolate

Cake Dusting with Chocolate | Chocolate Slivers and Shavings | Chocolate Curls | Chocolate Shapes


Cake Dusting with Chocolate

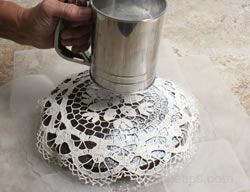
A very easy cake decorating idea that can be used is dusting the cakes with chocolate. This simple addition is just enough to catch someone's eye and give the cake a special touch.

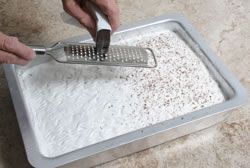
  • Before you start make sure the block of chocolate is not soft. It should be stored in a cool dry location. Hold the chocolate with a paper towel to help prevent the chocolate from melting and grate the chocolate directly over the cake, using a hand grater.

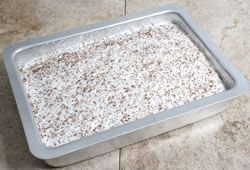
  • Be sure to evenly coat the top of the cake as you go. Grating directly on the cake will prevent having a problem with the chocolate melting when trying to transfer it to the cake.


Chocolate Slivers and Shavings

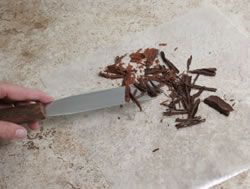
Cake decorating with chocolate slivers and shavings is a great way to add texture to your decorating design. They can be sprinkled over the top of the cake or they can be piled in the center to create a more bold effect when decorating the cake. The chocolate rolls and slivers can also be mixed with other trimmings such as fruit and nuts.

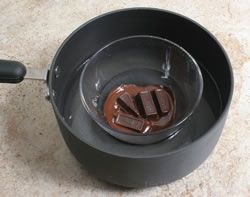
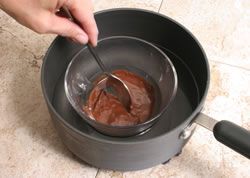
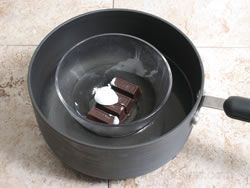
  • To create thin rolls and slivers, place 2 ounces of semi-sweet chocolate in a small glass bowl and place the bowl in a pan of hot (not boiling) water. Be sure the hot water only comes partially up the side of the bowl because you do not want any moisture to get into the chocolate and cause it to seize. Allow the bowl of chocolate to stand in the hot water; stir occasionally.

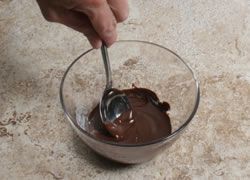
  • When the chocolate is almost all melted, remove it from the pan of water and stir until completely melted. For more methods on how to melt chocolate, see All About Chocolate.


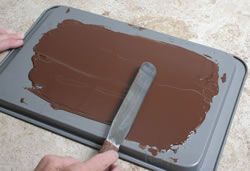
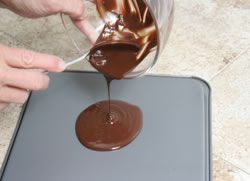
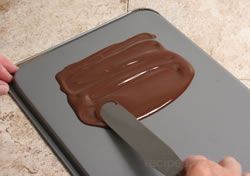
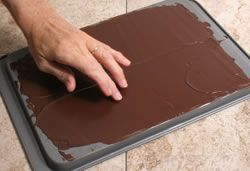
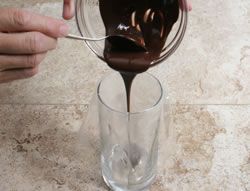
  • Pour the chocolate out onto a cookie sheet without sides or if it has sides, turn it upside down and use the bottom. Spread the chocolate out into a rectangle that is about 6 to 8 inches wide. Allow the chocolate to stand until it loses its shine and is no longer sticky when touched. Do not allow the chocolate to harden too much because if it is too hard it will be difficult to create the rolls and slivers of chocolate.

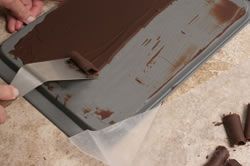
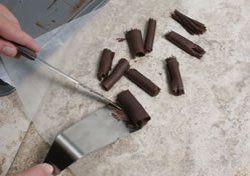
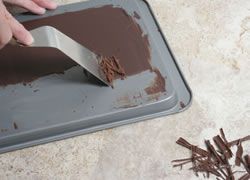
  • When the chocolate is ready, take a stiff metal spatula and push the blade across the surface of the cookie sheet, holding the spatula at a 45° angle. This will create thin rolls and slivers. As the rolls and slivers are created, remove them with the spatula and place them on wax paper.

  • Once the rolls and slivers have been created, place them on the cake however desired. If they become too soft, place them in the refrigerator for a few minutes to firm them up before handling them.


Chocolate Curls

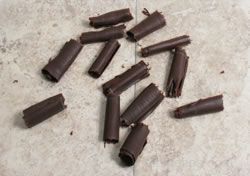
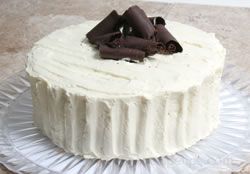
A fancy cake decorating idea that can really make an impression is chocolate curls. They can give a cake an elegant look whether you are placing chocolate curls on a white frosted cake or white chocolate curls on a chocolate frosted cake. You can also mix them up for an even more interesting look.

  • To create chocolate curls, place 2 ounces of semi-sweet chocolate and 1 teaspoon of shortening in a small glass bowl. Place the bowl in a pan of hot (not boiling) water. Be sure no moisture gets into the chocolate because this would cause it to seize.


  • Allow the bowl of chocolate and shortening to stand in the hot water; stir occasionally. When they are almost all melted, remove the bowl from the pan of water and stir until completely melted and well mixed.

  • Pour the chocolate out onto a cookie sheet without sides or if it has sides, turn it upside down and use the bottom of the cookie sheet.

  • Spread the chocolate into a rectangle over the surface of the cookie sheet. Allow the chocolate to stand at room temperature until firm to the touch. To hurry this process along, place in the freezer for a couple of minutes.

  • Test for firmness by touching the chocolate with your finger. It should not make an impression in the chocolate.

  • Once the chocolate is firm, start scraping it with the edge of a metal spatula. If the chocolate breaks into pieces rather than forming a curl, it is too firm. Allow it to set a couple of minutes at room temperature and try again.


  • Place the curls on a plate, cookie sheet, or wax paper and leave them until ready to use. If you are not going to use the curls immediately, store them in the refrigerator until you are ready to use.
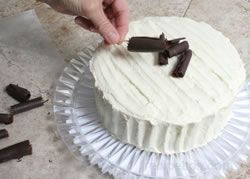
  • Use a toothpick to pick up the curls and apply to the cake to decorate as desired.

  • They can be piled in the center of the cake or placed in whatever decorative pattern you choose.


Chocolate Shapes

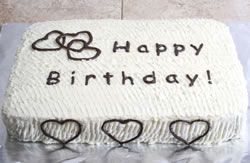
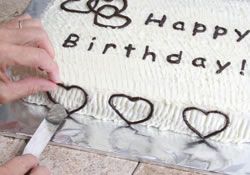
Cake decorating with chocolate shapes can be a lot of fun because you can create many different shapes to use. It is a great way to personalize birthday cakes and cakes for other special occasions. Another advantage of cake decorating with chocolate in this manner is that you don't have to worry about ruining your cake if the design doesn't turn out the first time. You can just make it over, whereas if you applied it directly on the cake it would be difficult to redo without ruining the frosting or cake on which it was placed. Follow the easy steps below.

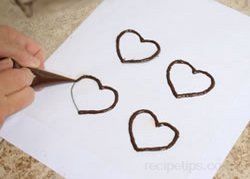
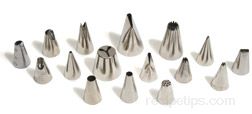
  • Melt the chocolate and spoon it into a pastry bag or piping bag. If you do not have a pastry bag, you can use a plastic bag with the corner tip cut off.


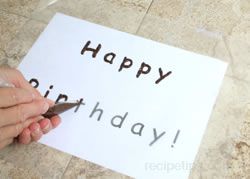
  • Once the bag is filled, pipe the chocolate out onto waxed paper in whatever shape you desire. You can create hearts, initials, geometric shapes, etc.

  • You can draw the chocolate shapes by freehand or you can create a template to follow. Creating a template allows you to space and size lettering so that it will fit the area in which you want to decorate your cake. When making shapes, a template will help in creating shapes that are consistent in size and shape. You can hand draw your template or use a computer to print out shapes and letters.

  • Once you have your template, tape it to your work surface. Place the wax paper over it and tape it in place. Then trace the letters and shapes with the melted chocolate.


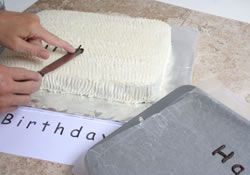
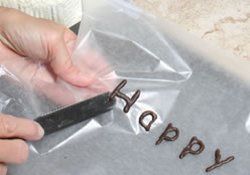
  • Place your cake decorations in the refrigerator until set. After they have set properly, carefully peel them off the wax paper using a metal icing spatula. Apply them to your cake or cupcakes as desired.

  • If you used a template to make your designs, you can use it to help you place the shapes so that they are space properly to fit the cake as you have planned.
  • If the shapes begin to soften, place them back in the refrigerator to firm up. You may have to do this several times before you are finished placing the shapes on the cake.

  • When place the shapes on the cake be very careful that you do not apply to much pressure and cause the shapes to crack.

  • Creating the chocolate shapes is a fun way to decorate a cake with a design using your own special touch.

Loading

Cake Decorating with Chocolate Reviews

There currently aren't any reviews or comments for this article. Be the first!
E-mail: 
Advertisement
Reproduction in whole or in part without written permission is strictly prohibited.
© Copyright 2024 Tecstra Systems, All Rights Reserved, RecipeTips.com